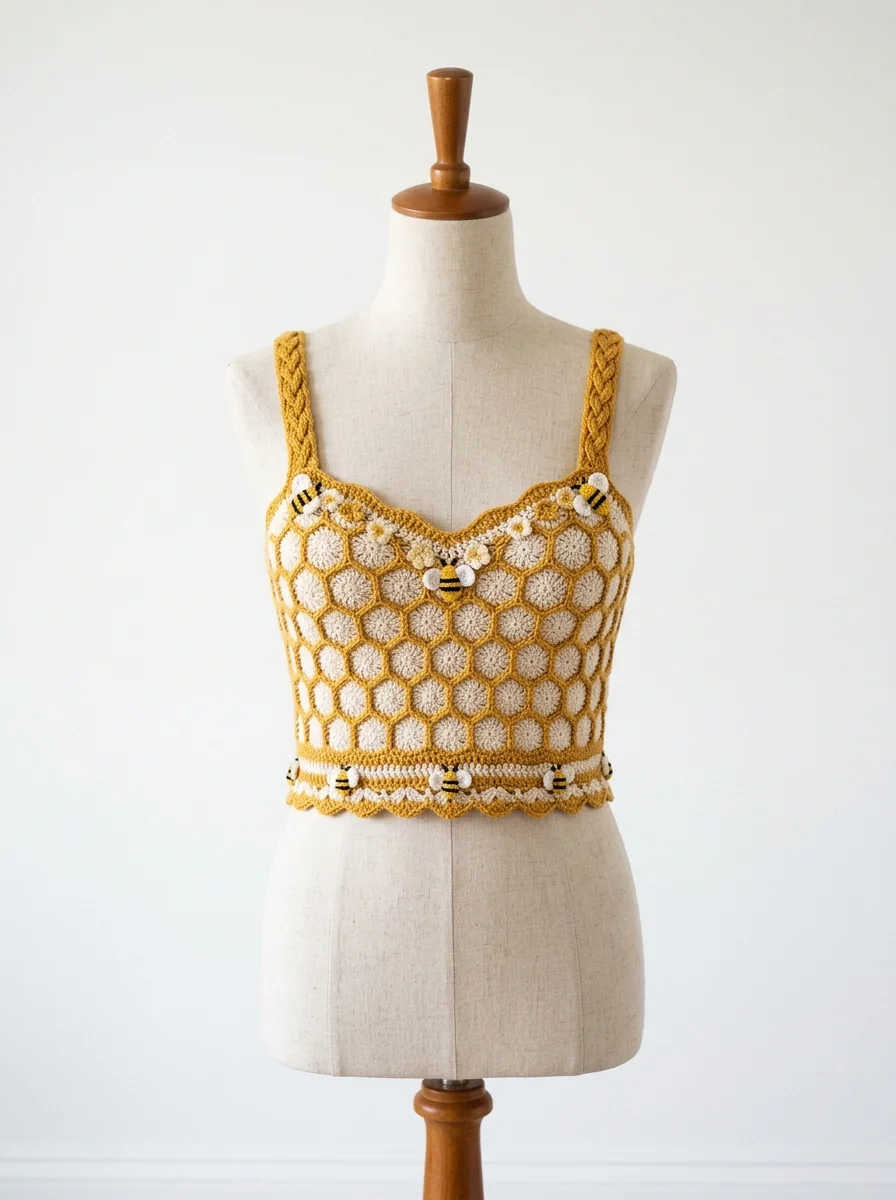
Image note: the featured image is an illustrative AI concept image. It shows a styling idea only and is not proof that the garment has been made or tested.
Honeybee crochet crop top with striped yoke
This honeybee crochet crop top uses a simple striped yoke and two structured cups connected to a lower band. Unlike a motif top, the stripes are worked as horizontal rows, so you can adjust the circumference independently from the cup coverage. Small wing appliqués are optional and should stay flat; they are decoration, not part of the load-bearing fit.
Supplies
- DK cotton yarn in yellow, black and a small amount of white
- Hook appropriate for a dense, breathable fabric
- Stitch markers, yarn needle, scissors, measuring tape
- Optional: removable bra pads or fabric lining for personal coverage
US terms: ch, sl st, sc, hdc, dc, inc (two stitches in one stitch), dec (decrease).
Plan the fit
Take two measurements: the underbust circumference and the width/height you want for each cup. Crochet a sample in hdc using the stripe colors, then measure it after wetting and drying flat. Use that gauge to calculate the band length. Make the finished band slightly smaller than the body measurement only if your yarn has reliable recovery; cotton alone has limited spring.
| Component | Purpose | Adjustment |
|---|---|---|
| Striped lower band | Primary support around the torso | Add or remove rows for height; alter chain count for circumference |
| Cups | Front coverage | Increase rows until each cup reaches your own target width |
| Back ties | Fine adjustment | Use two cords, not a single fragile chain |
| Wings | Optional decoration | Keep small and lightly stitched down |
Crochet the striped band
- Chain to the calculated underbust length and join only after confirming it is not twisted.
- Work 2–4 rounds of sc for a stable lower edge.
- Alternate yellow and black hdc rows. Carry the unused color loosely along the inside or fasten off at a side seam; tight floats can distort the garment.
- Finish the top edge with one sc round. Try the band on before continuing. It should be secure but comfortable.
Build two cups
Begin each cup at the lower center with a small chain. Work in rows, increasing at both outer edges to form a shallow triangle. Continue until the cup reaches your planned width and height. Add a final sc border around each cup, using extra stitches at the lower corners so it does not curl.
Place the cups on the band while it is flat. Leave a small center gap if desired, but keep both lower edges level. Sew or slip stitch each cup to the top band with matching yarn. For more stability, work an additional row through both the band and cup edges after joining.
Optional bee details
Make two tiny white oval wings with a short chain and a single round of sc. Stitch each wing at its base only so it lies against the cup. Avoid oversized wings or hard embellishments on an area that bends and is close to skin. A small embroidered black line can suggest antennae without adding loose parts.
Illustrative construction map
- Fit the striped band first.
- Make and border both cups to the same dimensions.
- Join cups to the band, then attach neck ties at the upper corners.
- Add optional wings after all structural seams are secure.
Wear, care and fixes
Use the back ties for a small adjustment, not to compensate for a band that is too large. If the cups tip outward, move their lower attachment points closer together. If the band rolls, add another firm sc round along the bottom. If stripes look wavy, check that your color changes are not pulling the work tight.
Hand wash in cool water, press excess water out in a towel and dry flat. Remove detachable pads before washing. This is a customizable pattern guide; note your gauge, band chain count and cup rows so a future version starts from real measurements rather than guesswork.