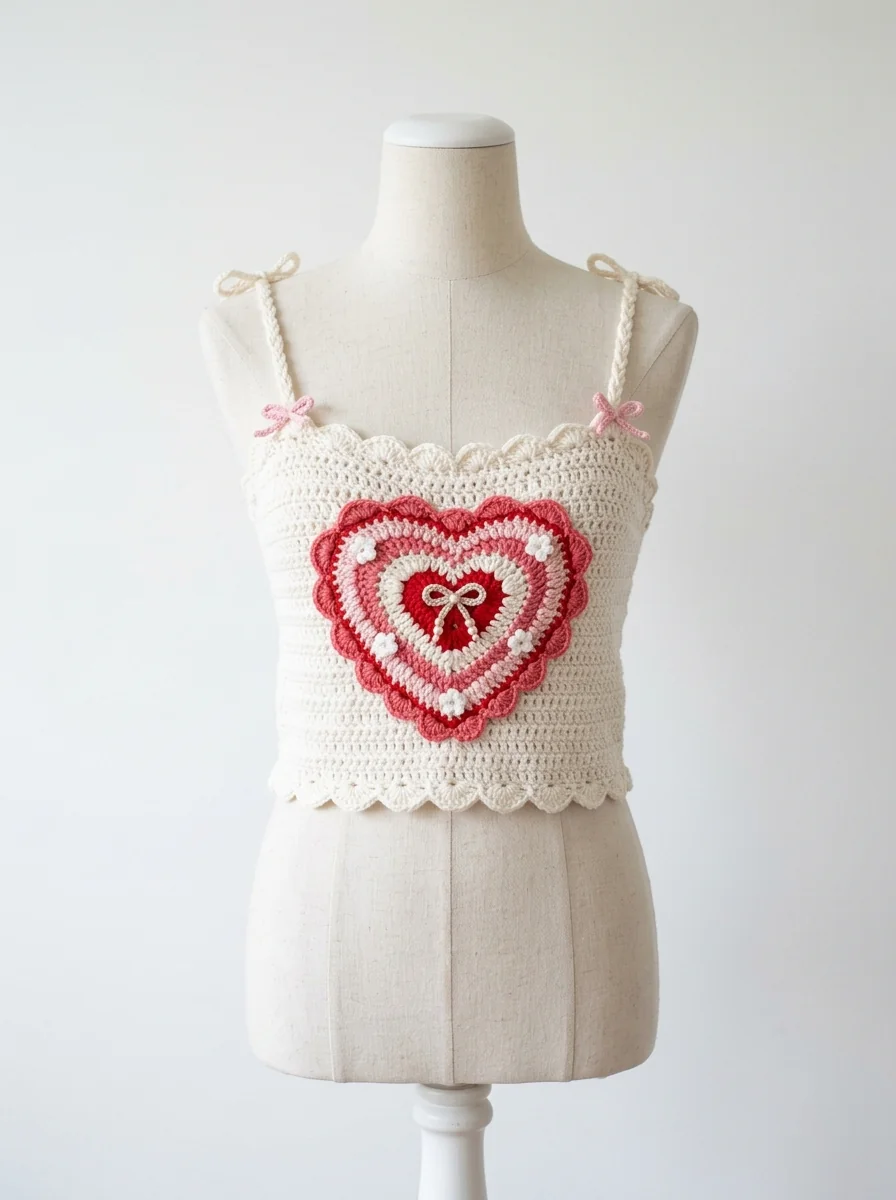
Image note: the featured image is an illustrative AI concept image. Use the written instructions below as the pattern reference; it does not document a finished, tested garment.
Heart Crochet Top: an adjustable panel-and-tie design
This beginner-friendly heart crochet top is built as a front heart panel, a simple back band, and separate neck and side ties. That construction makes it easier to fit than a fixed-size crop top: you choose the width of the heart before adding the ties, then adjust the garment while wearing a light layer underneath.
It is a useful project for practicing increases, neat edging and measuring your own work. The heart is decorative, but the fit comes from the band and ties—not from stretching the motif too far.
Materials and abbreviations
- Sport or DK cotton yarn in a main color; a small amount of contrast yarn is optional
- Hook that produces a firm, comfortable fabric (start with the size on the yarn label)
- Tapestry needle, scissors, stitch markers and measuring tape
US terms: ch = chain, sl st = slip stitch, sc = single crochet, hdc = half double crochet, dc = double crochet, st = stitch.
Measure first, then choose the panel width
Make a small swatch in sc, wash or steam it as you plan to finish the top, and measure the stitches across 4 in / 10 cm. Next, measure the area you want the heart to cover from side to side. Divide that measurement by your stitch gauge. The result is the target width of the widest heart row.
| Fit point | What to measure | Why it matters |
|---|---|---|
| Heart width | Across the front coverage area | Sets the widest row before shaping down |
| Underbust band | Snugly around the torso | Prevents the top from relying on the neck ties |
| Neck ties | From upper heart point to comfortable knot point | Keeps the neckline adjustable |
Make the heart panel
- Start with a short foundation chain for the bottom point. Work into both sides of the chain so the first rows form a shallow V.
- On each right-side row, place one increase near both outside edges. Keep the middle point marked; consistency is more important than matching an arbitrary row count.
- Continue until the panel reaches your planned widest measurement. Lay it flat every few rows. If the edges ruffle, use fewer increases; if they pull inward, add an increase earlier.
- To create the two upper lobes, divide the top stitches into two equal sections around the center marker. Work one lobe at a time, reducing at the inner edge so a clear dip forms between them.
- Work the second lobe as a mirror image. Add one round of sc around the whole heart, placing extra stitches where the curve needs to lie flat.
Add support without changing the motif
For a light summer top, crochet a narrow sc band along the lower edge of the heart. Continue it past each side of the panel to create side bands. Add two long chain ties at each outer end, then work back along each chain with sl sts or sc for a less stretchy cord.
Attach two neck ties at the upper outer corners. Reinforce each join by weaving the yarn tail through several nearby stitches before trimming. If you prefer a more covered back, make a plain rectangular back panel the same height as the lower third of the heart and join it to the side bands.
Illustrative fit and assembly map
- Front: heart panel with a firm lower edge.
- Sides: narrow bands that carry the adjustable ties.
- Neck: two separate cords attached at the heart’s upper corners.
- Finish: sc edging around the curves, then weave in ends on the wrong side.
Finishing and practical checks
Try the top on over a camisole before weaving in the last ends. Adjust the side ties first, then the neck ties. The heart should sit flat and the lower band should feel supportive without digging in. Cotton can relax with wear, so avoid making the ties excessively long or loose.
Hand wash gently, reshape the heart while damp and dry flat. Do not hang the top wet; the weight can stretch the lower point and change the fit.
Troubleshooting
- The center dip is too shallow: work one additional decrease at each inner lobe edge before joining the lobes.
- The heart curls: check that the edging is not too tight; use a slightly larger hook only for the border if needed.
- The neckline pulls upward: lengthen the neck ties or add a short stabilizing row along the upper edge.
- Coverage is uneven: rebuild the panel to your gauge rather than trying to stretch it into place.
This design is intentionally a flexible guide: your gauge and preferred coverage determine the final stitch counts. Record those numbers with your yarn label so you can reproduce the fit later.