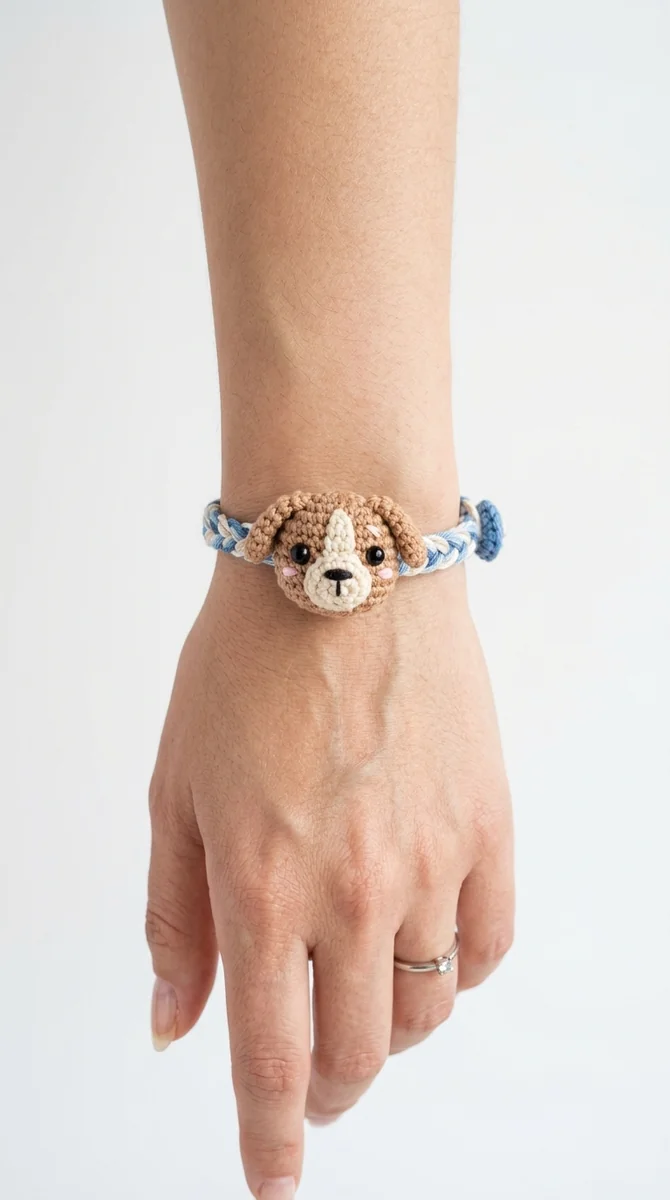
The cover is an AI-generated concept illustration. This written design has not been physically sample-tested; its proportions may differ from the image.
Puppy bracelet with a flat face and adjustable ties
This version of a puppy crochet bracelet uses a flat oval face, embroidered features and two ties. There is no stuffed head or button cuff. The oval rests against the wrist and the ties let you set the length while fitting it. It is a project for someone comfortable working around both sides of a chain and sewing small pieces.
For a wider bracelet with a raised head and button fastening, use the dog charm cuff instructions. Choose the style before buying materials: the flat version below needs no filling, button or plastic eyes.
Yarn, tools and what to measure
- Fine cotton yarn in cream for the face and ties, brown for the ears, and black embroidery thread for the features. Have small remnants of each available; consumption has not been measured.
- A hook that makes a close, flexible fabric with your yarn. Start with the yarn label recommendation and reduce the hook size if the stitches look open.
- A blunt yarn needle, scissors, two stitch markers and a measuring tape.
Measure the wrist loosely where the bracelet will sit. Then measure the completed oval across its long axis. Subtract the oval width from the desired bracelet circumference and divide by two: this is the length of each side before allowing extra length for the knot. Check the bracelet on the intended wearer before fastening off the ties. Never infer wrist size from age alone.
US stitch key
Ch means chain; sc means single crochet; hdc means half double crochet; sl st means slip stitch. An increase puts two sc in one stitch. The starting chain and joining slip stitch do not count as stitches. The face is worked in joined rounds so its end markers remain easy to locate.
1. Make the oval puppy face
- With cream, ch 5. Beginning in the second chain, sc in each of the next three chains. Put 3 sc in the last chain. Turn the chain so its unused underside is accessible.
- Sc in each of the next two unused chain loops, then put 2 sc in the last unused loop at the starting end. Join to the first sc. Count 10 stitches. Mark the middle stitch of each rounded end.
- For round 2, ch 1. Work 2 sc in the first stitch, sc in the next two, 2 sc in each of the next three, sc in the next two, and 2 sc in each of the last two. Join to the first sc. Count 16 stitches.
- For round 3, ch 1 and sc once in every stitch, without increases. Join and fasten off. Count 16 stitches again. This creates a shallow edge, not a stuffed ball. Flatten it gently with your fingers.
If the edge cups more than you want, omit round 3 and use the two-round oval. If round 1 twists, undo it and check that the return stitches went into the unused chain loops rather than through the stitches already made.
2. Add ears and embroidered features
Make each brown ear separately. Ch 5; starting in the second chain, work sl st, sc, hdc, sc, one stitch into each of the four chains. Fasten off with a sewing tail. These short strips need no stuffing. Attach the last sc end of each strip to an upper corner of the oval, leaving the narrow end hanging downward.
Lay the oval with its long axis horizontal. Place two short black embroidered eyes above the centerline, and a small inverted triangle for the nose below them. Draw a short vertical mouth line beneath the nose. Keep the embroidery loose enough that it does not pull the oval inward. Pass the ends through stitches on the reverse; bury them instead of leaving a hard knot against skin.
3. Crochet the two ties
Join cream yarn through two edge stitches at one side of the face. Chain until the tie reaches your measured side length plus enough extra to tie a bow. Return along the chain with slip stitches, starting in the second chain from the hook. Secure the end back through the attachment stitches. Repeat at the opposite side.
Slip stitches shorten a chain slightly, so measure the completed tie, not just the loose chain. Start with extra length and check it before cutting. The two finished ties should have equal usable lengths. Fasten the bracelet loosely enough that the oval stays flat when the wrist bends.
Fit problems and repairs
- The face turns sideways: move a tie attachment toward the midpoint of the oval edge. A single attachment at the top corner tilts the entire motif.
- The ears hide the eyes: unpick the ear attachment and move it outward. Do not make the eyes larger to compensate.
- A tie feels rigid: work its return slip stitches more loosely or use a larger hook for the ties only.
- The embroidery puckers: release the thread and redraw the feature using shorter stitches with less tension.
Wearing and cleaning
This is an accessory for someone able to manage and remove the ties, not an infant accessory. Remove it during sleep, sport or activities where cords can catch. Keep the loose ends only as long as needed for fastening. Wash according to the yarn label and lay it open to dry; do not pull on wet ties to reshape them.
For another lightweight construction, compare the linked flower bracelet, which distributes motifs around the wrist. Record the finished oval width and tie lengths so a second puppy bracelet starts from measurements that worked for the wearer.