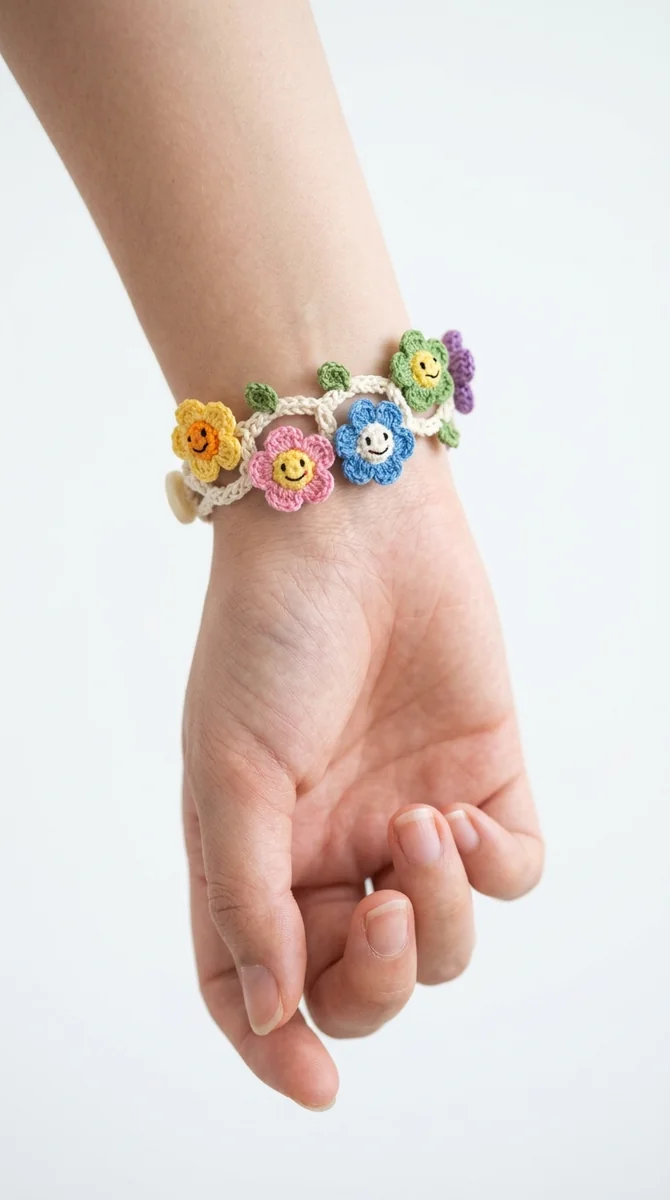
Image note: the featured image is an illustrative AI concept image. It is not a step-by-step photograph or evidence of a finished, tested bracelet. Use the written guide below as the project reference.
Tiny flower crochet bracelet with linked motifs
This bracelet is made from small flat flowers joined by short crochet links. It is intentionally different from a solid cuff: the open links let the bracelet curve around the wrist, while the flowers stay light and decorative. It works well as a practice project for consistent tension, tidy joins and a simple button closure.
Because wrists vary, this guide gives measurements and decisions rather than pretending one chain count fits everybody. Make one flower first, measure it, and use that real size to decide how many flowers and links you need.
Materials
- Fingering-weight or light sport cotton yarn in one to three flower colors
- A matching hook; use a smaller hook than usual if your flowers feel floppy
- Small flat button, about 8–12 mm
- Tapestry needle, stitch marker, scissors and measuring tape
US terms: ch = chain, sl st = slip stitch, sc = single crochet, hdc = half double crochet, st = stitch.
Plan the size before making every motif
Measure the wrist where the bracelet will sit. Add roughly 1–1.5 cm / ⅜–½ in for comfort. Crochet one finished flower and one short connector, lay them in a line and measure their combined length. Divide your desired bracelet length by that result. Most adult bracelets use three to five small flowers, but your yarn and tension decide the final number.
| Part | Purpose | Adjustment |
|---|---|---|
| Flower motifs | Decorative sections | Add a motif for length; do not stretch petals to gain length |
| Chain links | Flexibility between flowers | Add or remove one chain if the bracelet bends poorly |
| Button loop | Final fit adjustment | Size it to the actual button |
Crochet one small five-petal flower
- Make a magic ring, or ch 4 and join with a sl st. Work 10 sc into the ring.
- For one petal, work
sl st, ch 2, 2 hdc, ch 2, sl stusing two neighboring center stitches. - Repeat four more times. You should have five evenly spaced petals.
- Make the remaining flowers with the same hook and tension. Remake any visibly larger motif.
Join the flowers with flexible links
At the outer edge of the first flower, chain 5–7 for a connector. Attach to the outer edge of the next flower with a sl st, then work back along the chain with sl sts or sc. This return pass prevents the connector from stretching out of shape. Keep every connector the same length; use fewer chains for closer flowers instead of sewing petals together.
Create a button loop and closure
- At one end, work a tab 3–4 sc stitches wide and 2–3 rows long.
- On the final row, chain enough stitches to pass around the button, skip the matching base stitches, then finish with sc.
- Test on the actual button before fastening off. Sew that button to the opposite end through several layers of crochet.
Finishing and comfort check
Weave every yarn tail through the dense center of a flower or the return pass of a connector. Bend your wrist while wearing it: flowers should stay flat, links should flex and the closure should remain centered. If a flower flips, add one small anchoring stitch near its connector. If the bracelet is short, add a link or motif rather than overtightening the closure.
Care and variations
Remove the bracelet for sport, bathing, sleep and tasks where a chain could catch. Hand wash only when needed, press in a towel and dry flat with each flower shaped open. For a variation, use contrast yarn only for the links, substitute two crochet ties for the button, or embroider a tiny center dot while keeping the reverse free of scratchy knots.
Record the hook, yarn, number of motifs and finished length. Those real notes are more useful for repeating the bracelet than copying a generic chain count.