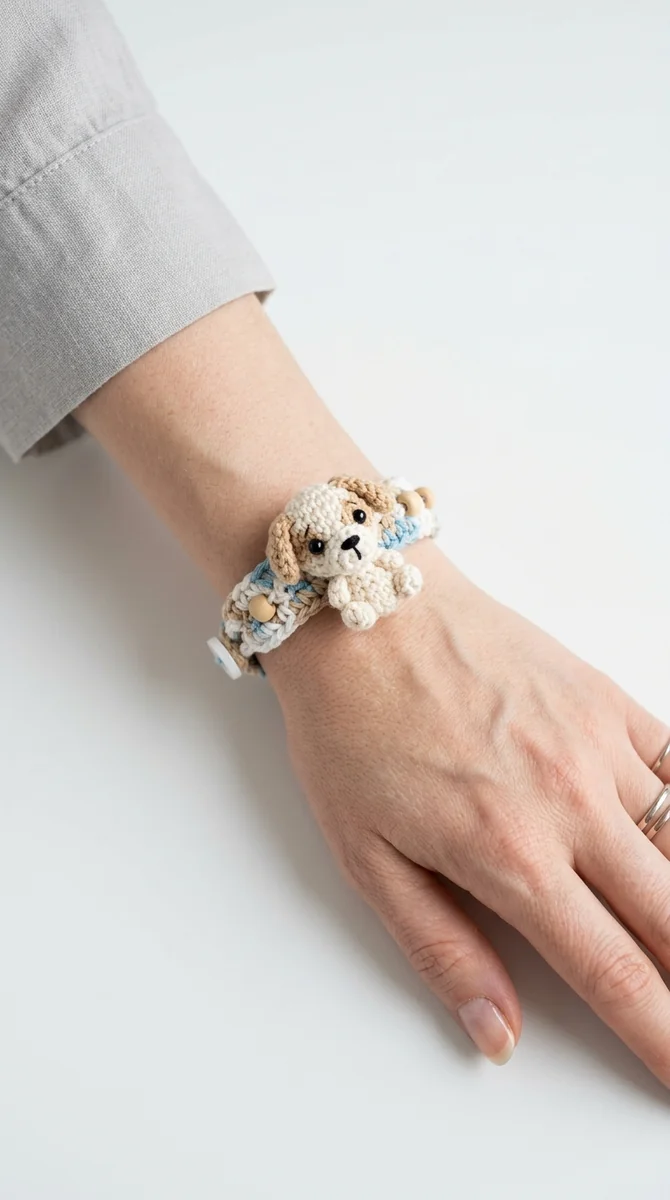
Image note: the featured image is an illustrative AI concept image. Use the written instructions as the pattern reference.
Why You’ll Love This Dog Crochet Bracelet Pattern
Note: This pattern uses US crochet terminology. UK/Commonwealth terms: sc = dc, hdc = htr, dc = tr, tr = dtr.
This dog crochet bracelet combines a button cuff with a raised head and two row-worked ears. The cuff supports the head across the wrist; fit the plain band before adding any decoration. Time and finished size depend on your yarn and experience.
By using basic stitches like single crochet and working in rows for the strap, this pattern is accessible to beginners. It is also a fantastic way to use scrap yarn from your stash. Let’s look at the materials needed and jump right into the tutorial!
For this cuff, measure the wearer and make a small sc swatch with the intended yarn. Divide the swatch stitch count by its width in centimeters to obtain stitches per centimeter. Multiply by the desired finished band length, allowing a little room for comfort and button overlap, and round to a whole stitch. Do not use an age-based chain count.
Materials and Tools You Will Need
- Yarn: smooth sport or DK cotton in tan for head and band, dark brown for ears, white for the muzzle and black embroidery thread for the face. Use comparable thicknesses for the crocheted pieces.
- Crochet Hook: 2.5 mm hook to keep the stitches neat and firm.
- Eyes: black embroidery thread; this version uses sewn features rather than plastic eyes.
- Polyester Fiberfill: A small amount for stuffing the dog head.
- Button: One 15 mm button for the secure wrist fastening.
- Tapestry Needle: For sewing pieces together.
- Scissors and Stitch Marker.
Abbreviations (US Terms)
- MR – Magic Ring
- ch – Chain
- sc – Single Crochet
- inc – Increase (2 sc in the same stitch)
- dec – Decrease (invisible decrease recommended)
- sl st – Slip Stitch
Step-by-Step Instructions
1. The Bracelet Strap
Using Warm Tan yarn. Worked in flat rows back and forth.
- Row 1: chain your calculated band stitch count plus one turning chain. The additional chain does not count as a stitch.
- Row 2: start in the second chain and sc to the end. Your stitch count equals the foundation chain minus one. Ch 1 and turn.
- Rows 3–6: sc across without changing the count. Ch 1 and turn after each row.
- Buttonhole row: sc in the first two stitches, ch 3, skip the next three stitches, then sc to the end. Test the button against this opening before fastening off; adjust chain and skipped-stitch counts together if necessary.
2. The Dog Head
Using Warm Tan yarn. Worked in continuous rounds.
- Round 1: 6 sc in a Magic Ring (6)
- Round 2: inc in each st around (12)
- Round 3: [sc, inc] x 6 (18)
- Round 4: [sc 2, inc] x 6 (24)
- Round 5–9: sc in each st around (24)
- Embroider eyes between head rounds 6 and 7, leaving room below for the white muzzle. Keep the thread tension gentle.
- Round 10: [sc 2, dec] x 6 (18)
- Round 11: [sc, dec] x 6 (12). Stuff the head firmly with fiberfill.
- Round 12: dec x 6 (6). Fasten off and close the hole.
3. The Floppy Ears (Make 2)
Using Dark Brown yarn. Worked in flat rows.
- Row 1: Ch 4. Starting in 2nd ch from hook, sc 3, ch 1, turn.
- Row 2: inc, sc, inc (5), ch 1, turn.
- Row 3–6: sc in each st across (5), ch 1, turn.
- Row 7: dec, sc, dec (3). Fasten off, leaving a tail for sewing.
4. The Muzzle
Using White yarn.
- Round 1: 6 sc in MR.
- Round 2: [sc, inc] x 3 (9). Fasten off, leaving a tail.
- Use black yarn to embroider a small nose and smile.
Assembly and Sew-on Details
Sew the white muzzle below the embroidered eyes, then attach each ear near round 3. Hide the sewing tails inside the head before attaching it to the cuff.
Attach the completed dog head securely to the middle of the bracelet strap. Run the needle back and forth several times to ensure it won’t wobble or come off when the strap stretches. Sew the button onto the strap at the end opposite to the buttonhole loop.
Sizing, Care, and Customization Tips
To change the face, sew a small flat brown patch on the head before embroidering the eyes. Choose yarn with a care label suited to a washable accessory. This buttoned bracelet is not an infant toy; remove it when sleeping or when jewelry can catch.
Washing and Care Instructions
Always hand wash your amigurumi items. Soak in lukewarm water with mild baby soap, gently squeezing the piece. Do not scrub or twist. Rinse thoroughly, press out the water using a clean dry towel, and leave flat to dry completely.
Pattern status: these are AI-assisted written instructions, not a physically sample-tested pattern. The cover is a concept illustration; finished measurements and appearance depend on materials and tension.
Related construction guides
For another project in this collection, see Puppy Crochet Bracelet with Ties and Penguin Crochet Bracelet: Button Band. Compare its materials and construction before choosing your next piece.