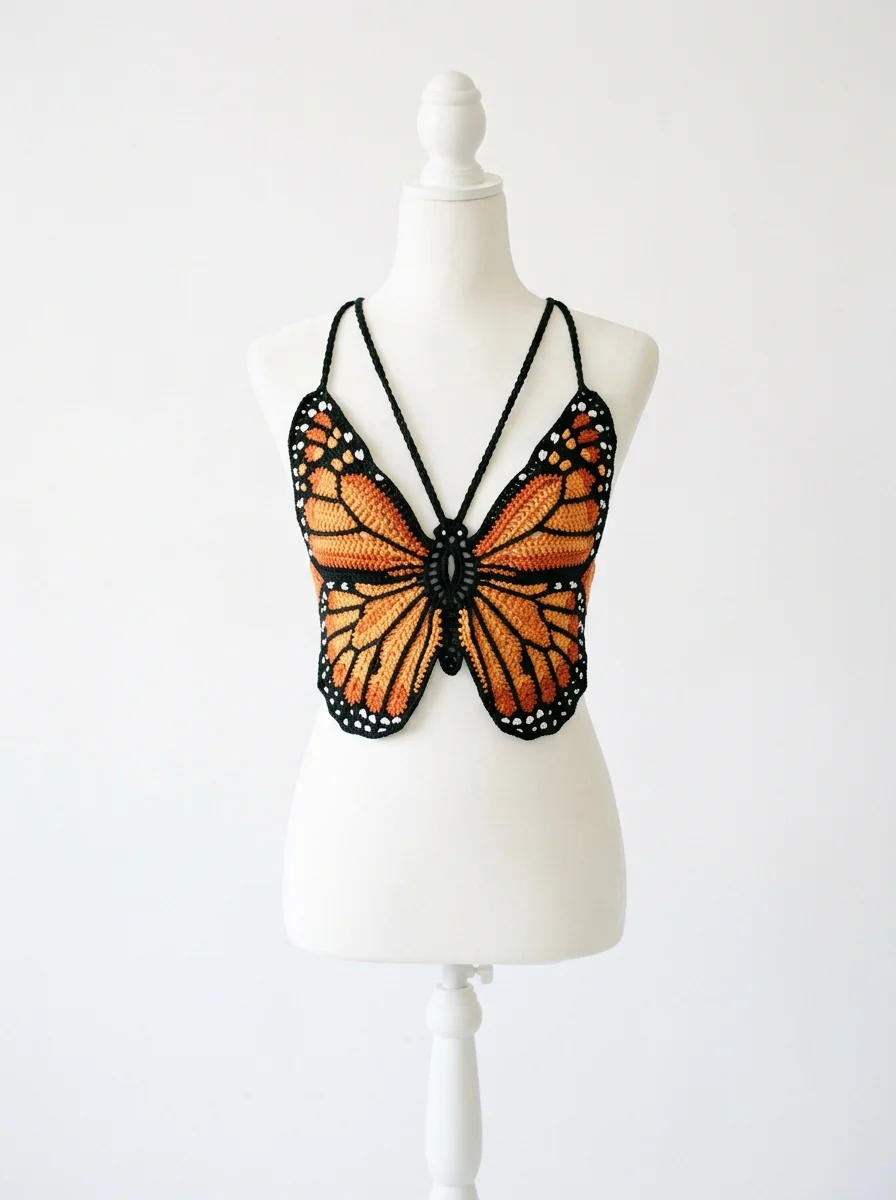
Image note: the featured image is an illustrative AI concept image. It is a visual interpretation, not a step-by-step photo record or a claim that the garment was tested.
Butterfly crochet top with joined wing panels
This butterfly crochet top is a two-panel project: make a left and right wing panel, join them at the center, then add a separate underbust band and ties. The silhouette comes from the wing shaping, while the band does the practical work of holding the garment in place. Building those parts separately gives you more control than simply turning a large butterfly motif into a top.
What you need
- Sport or DK yarn with clear stitch definition; cotton or a cotton blend works well
- Two or three colors for the wings plus a neutral joining color
- Matching hook, stitch markers, yarn needle, measuring tape and scissors
US terms: ch, sl st, sc, hdc, dc, tr (treble crochet), inc and st.
Gauge and layout
Make a swatch in the main wing stitch. Measure the width of the upper chest area you want covered, then divide it in half: each wing panel should reach that width before the center join. Also measure the underbust. The lower band should fit that measurement with gentle ease, because long chain ties alone are not enough to support a garment.
| Part | Shape goal | How to personalize it |
|---|---|---|
| Upper wings | Rounded outer edge | Use taller stitches only where the curve needs height |
| Lower wings | Shorter pointed lobe | Stop one or two rows sooner for less coverage |
| Center join | Stable vertical seam | Join more rows for a higher neckline |
| Band and ties | Comfortable support | Fit before attaching the panels |
Make one wing panel
- Start near the inner lower edge with a small chain. Work back and forth in rows.
- Increase at the outside edge to widen the upper wing. Keep the inside edge straighter so it can meet the second panel cleanly.
- Use a few dc or tr stitches near the widest curve, then return to hdc or sc toward the edges. This makes a shaped lobe without requiring complicated lace.
- For the lower wing, work a shorter section beneath the first lobe. Reduce gradually toward the outer tip, leaving a defined point.
- Border the complete panel with sc. Add two stitches in any sharp outer point and check that the panel lies flat.
Mirror, join and support
Make the second panel as a mirror image. Lay both panels on a table with the inner edges touching. Join the center with whip stitches or a neat slip-stitch seam from the lower center upward. Stop where you want the neckline to open. Reinforce the lower center with a second pass of yarn, because that area receives tension from both panels.
For the band, crochet a rectangular strip in sc or hdc to your calculated underbust measurement. Join the butterfly panels to its top edge, keeping the lower wing tips free if you want movement. Add side ties to the band ends and neck ties at the two upper outer corners. Work back along every chain tie in sc or sl st so it resists stretching.
Color placement that stays readable
Choose one main color for both panels, then use a contrast only on the outer border or the lower wing. Repeating the same color sequence on each side makes the butterfly look intentional. Weave in each end as you change color; long loose floats are uncomfortable in a wearable item.
Illustrative fit and assembly map
- Shape and border one wing panel.
- Make its mirrored partner.
- Secure the center seam before attaching the support band.
- Fit the band, add ties, then test movement over a camisole.
Troubleshooting and care
- Panels curl: loosen the border or add a stitch around the fullest curve.
- Center seam gaps: join one more row upward or use a firmer seam stitch.
- Band rides up: remake it to the correct measured circumference rather than overtightening the neck ties.
- Wings look uneven: count rows on both panels and compare them flat before joining.
Wash gently and dry flat, reshaping the wing edges while damp. Write down your swatch, panel row counts and band measurement; those notes are the reliable way to repeat the fit.