Crochet Pegasus Keychain: Free Pegasus Crochet Pattern & Tutorial
Why You’ll Love This Pegasus Crochet Pattern
Note: This pattern uses US crochet terminology. UK/Commonwealth terms: sc = dc, hdc = htr, dc = tr, tr = dtr.
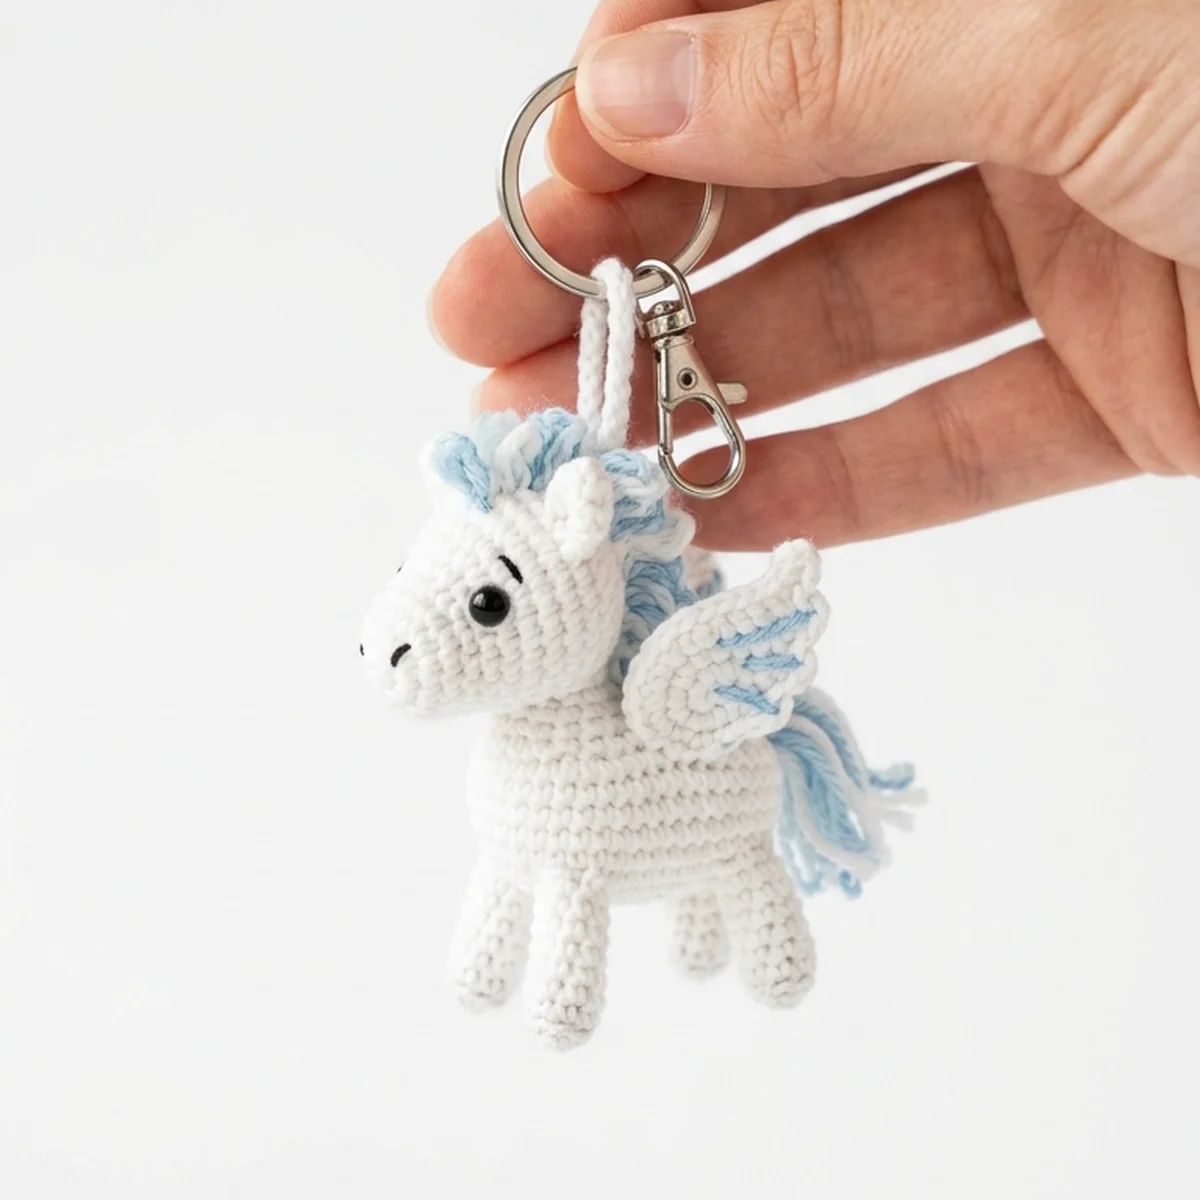
Looking for a magical handmade accessory to brighten up your keys or backpack? This adorable pegasus crochet pattern is the perfect weekend project to create a whimsical mini amigurumi. Pegasus, the legendary winged horse, represents freedom and imagination. Teaming up this mythic creature with the utility of a keychain creates a gorgeous gift for kids and adults alike. Best of all, this pattern is compact, uses very little yarn, and comes together in just a couple of hours.
Whether you are an amigurumi enthusiast or a beginner looking to expand your skills, this guide will walk you through every loop, decrease, and color change. We have optimized this design to ensure it is sturdy and maintains its shape even when tossed inside a busy bag. Let’s gather our supplies and get ready to bring this cute creature to life!
Materials and Tools Required
- Yarn: Sport weight cotton yarn in White (body), Gold/Yellow (wings and horn), and Pastel Pink (mane and tail). Cotton yarn is recommended for keychains because it does not pill and holds details beautifully.
- Crochet Hook: 2.0 mm or 2.25 mm hook. Using a slightly smaller hook than recommended on the yarn label ensures tight stitches so stuffing does not show through.
- Safety Eyes: 6 mm black round safety eyes.
- Stuffing: High-quality polyester fiberfill.
- Tapestry Needle: A blunt-tipped needle for sewing the pieces together.
- Keychain Hardware: Split ring and a short chain.
- Stitch Markers: Essential for working in continuous spiral rounds.
- Scissors and Pins: Pins are highly recommended to hold parts in place before sewing.
Abbreviations (US Terms)
- MR – Magic Ring
- ch – Chain
- sc – Single Crochet
- inc – Increase (2 single crochets in one stitch)
- dec – Invisible Decrease (crochet two stitches together using front loops only)
- hdc – Half Double Crochet
- dc – Double Crochet
- sl st – Slip Stitch
- st(s) – Stitch(es)
Step-by-Step Pegasus Pattern
The Head (In White Yarn)
We work the head from front to back. Work in continuous rounds without joining unless specified.
Round 1: 6 sc in MR (6)
Round 2: inc in each st around (12)
Round 3: [sc, inc] x 6 (18)
Round 4: [sc 2, inc] x 6 (24)
Round 5: [sc 3, inc] x 6 (30)
Rounds 6-10: sc in each st around (30)
Tip: Place safety eyes between rounds 8 and 9, leaving about 6 stitches between them. Secure the backings tightly.
Round 11: [sc 3, dec] x 6 (24)
Round 12: [sc 2, dec] x 6 (18)
Start stuffing the head firmly with fiberfill.
Round 13: [sc, dec] x 6 (12)
Round 14: dec x 6 (6)
Fasten off, weave the tail through the front loops of the remaining 6 stitches, pull tight to close, and hide the yarn end inside the head.
The Body (In White Yarn)
Round 1: 6 sc in MR (6)
Round 2: inc in each st around (12)
Round 3: [sc, inc] x 6 (18)
Round 4: [sc 2, inc] x 6 (24)
Rounds 5-8: sc in each st around (24)
Round 9: [sc 2, dec] x 6 (18)
Round 10: sc in each st around (18)
Round 11: [sc, dec] x 6 (12)
Fasten off, leaving a long tail for sewing the body to the head. Stuff the body firmly.
The Wings (Make 2 in Gold/Yellow Yarn)
We will work the wings in flat rows. Row 1: ch 6. Starting in the second chain from hook, sc in next 5 chains, ch 1, turn (5). Row 2: sc in next 4 stitches, inc in the last stitch, ch 1, turn (6). Row 3: sc in next 5 stitches, sl st in the last stitch. Fasten off, leaving a long tail for assembly.
The Horn (In Gold/Yellow Yarn)
Chain 5. Starting in the second chain from the hook, sl st in the first chain, sc in the second, hdc in the third, and dc in the fourth chain. Fasten off, leaving a tail to sew the horn onto the center of the forehead.
The Mane and Tail (In Pastel Pink Yarn)
For the mane locks, we will crochet curly strips. Mane (make 3 locks): ch 15. In the second ch from hook, work 3 sc. Work 3 sc in each remaining chain to the end. The strip will naturally curl. Fasten off. For the tail: ch 12. In the second ch from hook, work 2 hdc in each chain. Fasten off.
Assembly and Finishing Touches
1. Assemble the Head and Body: Use the yarn tail of the body to sew it to the bottom of the head. Position the body so the head is centered and looking straight forward. Lock the stitches securely.
2. Attach the Horn: Sew the gold horn to the top of the head, centered just above the eyes (around Round 5).
3. Attach the Wings: Pin the gold wings to the sides of the body, angled slightly backward as if in flight. Sew them securely using the yarn tails.
4. Attach the Mane: Align the three curly pink mane locks from the top of the head (right behind the horn) down to the back of the neck. Sew them in place.
5. Attach the Tail: Sew the curly pink tail to the lower back of the body.
6. Embroider Details: With a strand of pink yarn, embroider tiny horizontal lines right below the safety eyes to represent cute blush marks. You can also embroider closed eyelashes using thin black thread for a sleeping look.
Tips for Professional Quality Keychains
To turn your amigurumi into a durable keychain, you must ensure the keychain hardware is attached to the core stitches of the head rather than just the yarn threads. Thread a strong loop of matching white yarn through the top of the head (around Round 3), knot it securely inside before stuffing, and use this loop to attach the metal split ring. This prevents the pegasus from ripping off the chain during daily use.
Keep your tension consistent throughout. If your stitches look loose, try switching to a smaller hook. Cotton yarn is less forgiving of uneven tension than acrylic, but it provides a clean, premium stitch definition that highlights the curves of your amigurumi.
Gifting and Display Ideas
This little pegasus is not only a functional keychain but also makes a wonderful accessory for bags, purses, or car mirrors. If you run an online craft shop or sell at local weekend fairs, these pocket-sized mythical creatures are guaranteed bestsellers. They are quick to make, visually striking, and require minimal packaging. Try experimenting with different colors like pastel blue, mint green, or lavender for the body and mane to create a whole collection of magical pegasi!
Thank you for using our tutorial. We hope this project brings a touch of magic to your crochet journey. Remember to share your finished pegasus with us on social media and tag your creation!