Crochet Pegasus Amigurumi: Free Pattern & Step-by-Step Tutorial
Why You’ll Love This Pegasus Crochet Pattern
Note: This pattern uses US crochet terminology. UK/Commonwealth terms: sc = dc, hdc = htr, dc = tr, tr = dtr.
This pegasus crochet pattern is the perfect project to bring a touch of magic and mythology into your handmade collection. Crocheting a pegasus allows you to combine the charm of a classic horse amigurumi with beautiful, structured wings that make it look like it is ready to take flight. It is an ideal gift for kids, fantasy fans, or a gorgeous decorative piece for nursery rooms.
Working on a mythical creature pattern helps you improve your skills in shaping, wire insertions (if you choose to make posable wings), and hair-styling with curls. With this step-by-step tutorial, you will master the art of creating seamless legs, a sturdy neck, and feather-like textures on the wings. Whether you are an intermediate crocheter looking to level up or a seasoned maker, this guide will walk you through all the necessary steps.
Materials and Tools Required
To ensure your pegasus amigurumi is durable and holds its shape perfectly, choose high-quality materials. Here is what you will need:
- Yarn: Medium weight (DK or worsted) in White (main body), Soft Pink or Lilac (for the mane, tail, and wings accents), and Gold or Silver (for the hooves).
- Crochet Hook: 2.5 mm or 2.75 mm. Using a slightly smaller hook than recommended on the yarn label ensures tight stitches so the fiberfill stuffing does not show through.
- Safety Eyes: 8 mm or 10 mm black safety eyes with secure backings.
- Fiberfill Stuffing: High-grade polyester stuffing to give your pegasus a soft yet firm shape.
- Tapestry Needle: For sewing the head, wings, mane, and tail to the body.
- Stitch Markers: Essential for tracking rounds in continuous spirals.
- Pins: For positioning parts before final sewing.
Crochet Abbreviations (US Terms)
- MR – Magic Ring
- ch – Chain
- sc – Single Crochet
- inc – Increase (2 sc in the same stitch)
- dec – Decrease (invisible decrease recommended)
- hdc – Half Double Crochet
- dc – Double Crochet
- sl st – Slip Stitch
- BLO – Back Loop Only
- FLO – Front Loop Only
Step-by-Step Pegasus Pattern
1. Head and Snout
Start with white yarn. We will work in continuous rounds.
Round 1: 6 sc in MR (6)
Round 2: inc in each st (12)
Round 3: [sc, inc] x 6 (18)
Round 4: [2 sc, inc] x 6 (24)
Round 5: [3 sc, inc] x 6 (30)
Round 6: [4 sc, inc] x 6 (36)
Rounds 7-12: sc in all 36 sts (36)
Place safety eyes between rounds 9 and 10, leaving 8 stitches apart. Begin stuffing the head firmly.
Round 13: [4 sc, dec] x 6 (30)
Round 14: [3 sc, dec] x 6 (24)
Round 15: [2 sc, dec] x 6 (18)
Round 16: [sc, dec] x 6 (12)
Stuff completely. Round 17: dec x 6 (6). Fasten off, leaving a long tail for sewing.
2. Sturdy Body
Start with white yarn. The body is worked from bottom to neck.
Round 1: 6 sc in MR (6)
Round 2: inc in each st (12)
Round 3: [sc, inc] x 6 (18)
Round 4: [2 sc, inc] x 6 (24)
Round 5: [3 sc, inc] x 6 (30)
Round 6: [4 sc, inc] x 6 (36)
Round 7: [5 sc, inc] x 6 (42)
Rounds 8-15: sc in all 42 sts (42)
Round 16: [5 sc, dec] x 6 (36)
Round 17: sc in all 36 sts (36)
Round 18: [4 sc, dec] x 6 (30)
Round 19: [3 sc, dec] x 6 (24)
Rounds 20-22: sc in all 24 sts (24) – this forms the neck.
Fasten off, leaving a tail. Stuff the body firmly, paying extra attention to the neck area so the head doesn’t wobble.
3. Legs (Make 4)
Start with gold yarn for the hooves.
Round 1: 6 sc in MR (6)
Round 2: inc in each st (12)
Round 3: BLO sc in all 12 sts (12)
Change to white yarn.
Rounds 4-12: sc in all 12 sts (12)
Stuff the leg lightly at the bottom, and leave the top un-stuffed so it lies flat against the body. Flatten the opening and sc across the top (6 sts) to close. Fasten off and leave a tail for sewing.
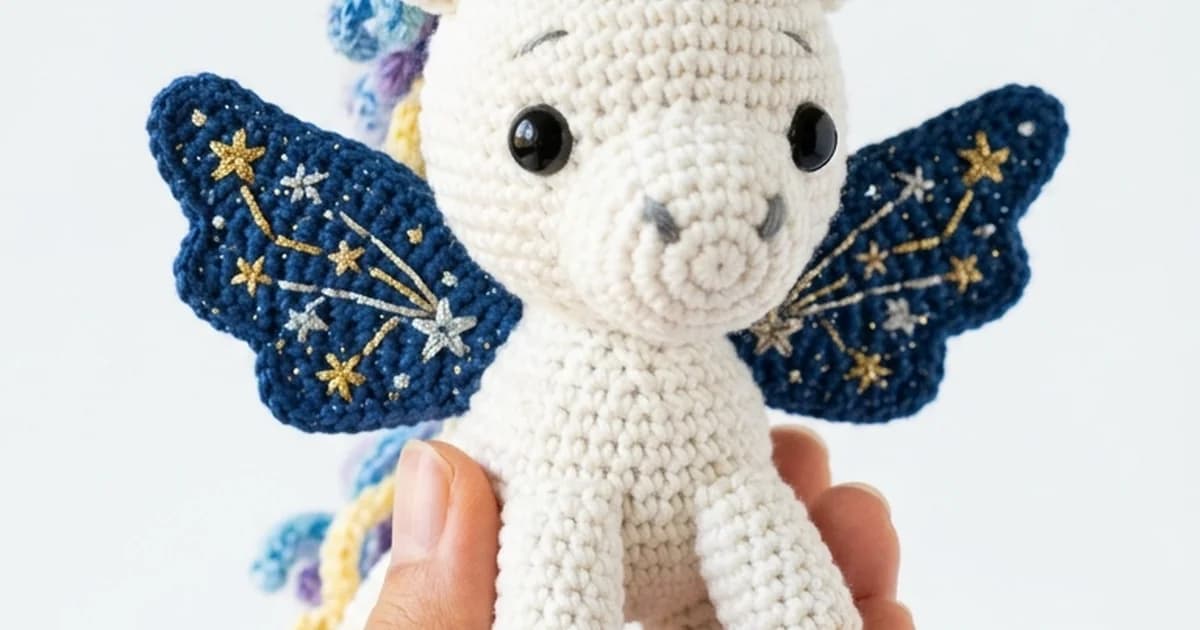
4. Magical Wings (Make 2)
Using white yarn. We will make three feathers of different sizes and join them.
Small Feather: Ch 6. Starting in second ch from hook, sc 4, 3 sc in last ch, work on opposite side of ch: sc 3, sl st. Fasten off.
Medium Feather: Ch 8. Starting in second ch from hook, sc 6, 3 sc in last ch, work on opposite side of ch: sc 5, sl st. Fasten off.
Large Feather: Ch 10. Starting in second ch from hook, sc 8, 3 sc in last ch, work on opposite side of ch: sc 7, sl st. Do not cut yarn. Now, sc across the top of all three feathers to join them into a single wing structure. Fasten off and leave a long tail.
5. Curly Mane and Tail
Using soft pink or lilac yarn. Ch 35. Starting in second ch from hook, work 3 sc in each chain to the end. This will naturally curl. Make 4-5 curls for the mane, and 3 longer curls (Ch 45) for the tail.
Assembling Your Pegasus Amigurumi
Assembly is key to a professional finish. First, use pins to position the head onto the neck. Ensure it is centered and not tilting. Sew them together using a mattress stitch, adding extra stuffing before closing the last few stitches. Next, position the legs on the bottom of the body. Two legs should be placed slightly forward and two slightly backward so the pegasus can sit or stand stably. Sew the wings to the middle of the back, about 3 rounds down from the neck. Finally, sew the mane curls down the back of the head and neck, and the tail curls to the rear of the body. Embroider nostrils with a tiny strand of pink yarn.
Tips for Perfect Tension and Shaping
When stuffing amigurumi, always pull the stuffing apart to fluff it up first. This prevents lumps. Keep your tension consistent throughout the project. If you notice gaps in your stitches where the stuffing shows, switch to a smaller hook size. To make the wings stand upright, you can insert a small piece of chenille wire (pipe cleaner) through the body and into both wings before sewing them down.
Final Thoughts and Care
Your beautiful handmade pegasus is complete! If this toy is meant for a young child, ensure all parts are sewn on extremely securely. Hand wash your amigurumi in cold water with mild detergent and let it air dry completely. Save this pattern, share it with your crochet community, and enjoy the magical results of your hard work!