Lavender Crochet Hair Clip: Free Pattern & Step-by-Step Tutorial
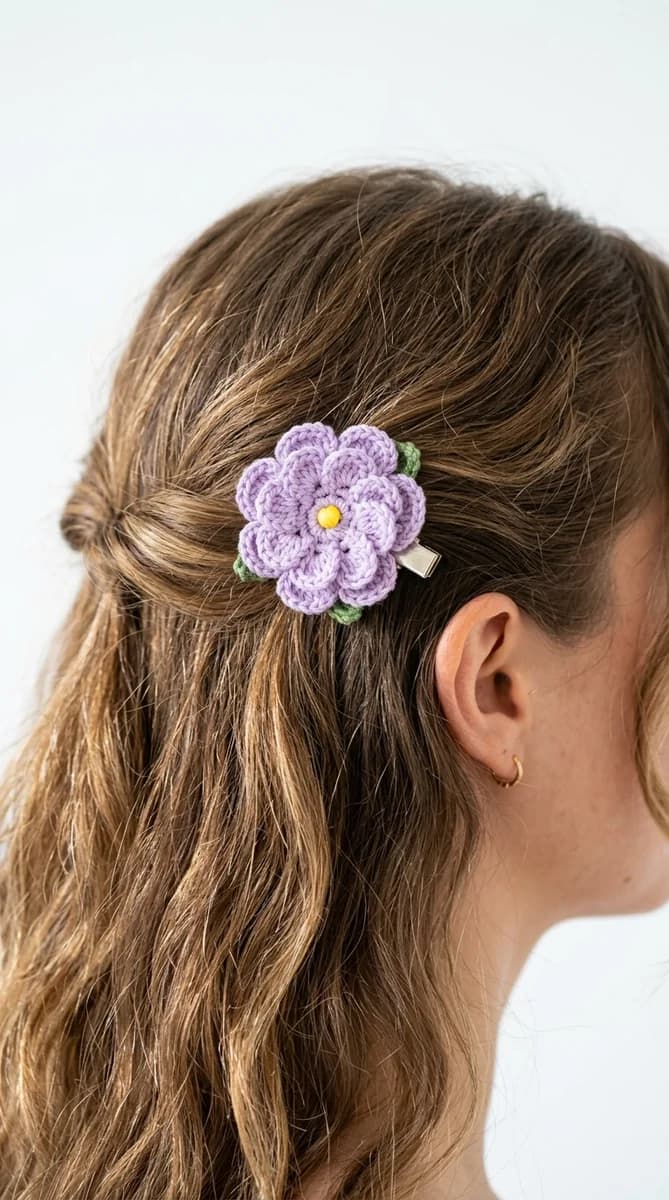
Introduction to the Lavender Crochet Hair Clip
Note: This pattern uses US crochet terminology. UK/Commonwealth terms: sc = dc, hdc = htr, dc = tr, tr = dtr.
This gorgeous lavender crochet hair clip is the ultimate hair accessory for anyone who loves delicate, floral-themed handmade items. Perfectly capturing the rustic elegance of lavender fields, this piece is lightweight, beautiful, and holds hair securely when mounted on a metal snap clip or alligator clip. If you have been looking for an easy, rewarding, and quick stash-busting crochet project, this tutorial is designed just for you.
Floral hair accessories have taken the fashion world by storm, offering a vintage charm that complements both casual outfits and formal styles. In this detailed guide, we will walk you through the entire process of making your own lavender hair clip. We will discuss the best yarn choices, list the necessary materials, define the abbreviations, and provide a comprehensive round-by-round guide to help you achieve professional results.
Materials and Tools Required
Before you begin, gather the following tools and materials. Because this is a micro-crochet project, very little yarn is required:
- Yarn: Sport weight or fingering weight cotton yarn in lavender (purple) and forest green. Cotton yarn is highly recommended for its stitch definition and durability.
- Crochet Hook: 2.0 mm or 2.25 mm hook. A smaller hook ensures your stitches are compact and hold their shape.
- Metal Hair Clip: A standard 5 cm or 6 cm metal snap clip or alligator clip.
- Hot Glue Gun: Or strong fabric glue to attach the crocheted flower to the metal clip.
- Tapestry Needle: For weaving in the yarn ends.
- Scissors: For clean cuts.
Stitch Abbreviations (US Terms)
Make sure you understand these stitches before starting the pattern:
- ch: Chain
- sc: Single crochet
- hdc: Half double crochet
- dc: Double crochet
- tr: Treble crochet
- sl st: Slip stitch
- picot: Chain 3, sl st into the first chain made
Step-by-Step Pattern Instructions
Part 1: The Clip Cover (Base)
To give the hair clip a neat foundation, we will first crochet a cover for the metal clip using green yarn.
Row 1: Chain 15 (or the length of your metal clip). Work 1 sc in the second ch from hook and in each chain across to the last chain. In the last chain, work 3 sc to turn the corner. Continue working on the opposite side of the chain, crocheting 1 sc in each stitch back to the start. Join with a sl st to the first sc. Fasten off and weave in the ends. Set this base aside.
Part 2: The Lavender Flower Stem
The lavender flower is made of small popcorn-like clusters along a central green stem.
Step 2.1: The Stem: Using green yarn, chain 20. Fasten off. This chain will act as the stem of your lavender flower.
Step 2.2: The Purple Buds: Join your purple/lavender yarn to the 8th chain from the bottom of your green stem. We will work up towards the tip of the stem to create the flower clusters.
Flower Round: Work *(ch 3, sl st into the same stitch, ch 4, sl st into the same stitch, ch 3, sl st into the same stitch)* to form the first cluster of lavender buds. Slip stitch into the next chain stitch along the stem. Repeat the bud pattern * to * in each chain stitch all the way to the top of the stem. At the top of the stem, work one final cluster to cover the tip. Fasten off, leaving a tail of thread.
Part 3: The Leaf Accent
A small green leaf completes the realistic look of the lavender stem.
Row 1: Using green yarn, chain 8. Start in the second chain from hook and work: 1 sl st, 1 sc, 1 hdc, 1 dc, 1 hdc, 1 sc, 1 sl st. Fasten off, leaving a long tail for sewing.
Assembly and Attachment
Now, let’s assemble the lavender crochet hair clip:
- First, sew the leaf to the bottom of the lavender stem using the green tail and your tapestry needle. Secure with a double knot on the backside.
- Next, use your hot glue gun to attach the green clip cover (base) onto the top side of the metal snap clip. Press firmly and let it dry.
- Once the base is secured to the metal clip, apply a line of hot glue along the center of the green base.
- Press the lavender flower stem onto the glue, ensuring the green stem aligns with the clip cover and the purple flower clusters sit nicely on top.
- Weave in any remaining yarn tails underneath the base and trim closely to ensure a tidy back view.
Pro Tips for Success
Follow these expert tips to make your lavender clips look even better:
- Tension: Keep your tension consistent. The ch-3 and ch-4 loops for the lavender buds should be snug so they do not sag.
- Glue choice: Hot glue is fast and strong, but clear E6000 fabric glue is extremely durable for items that will be handled frequently.
- Colors: Try different shades of purple, like lilac, lavender, and deep plum, to create a natural bouquet of hair clips.