Flower Fairy Crochet Clip: Free Pattern & Step-by-Step Tutorial
Introduction to the Flower Fairy Crochet Clip
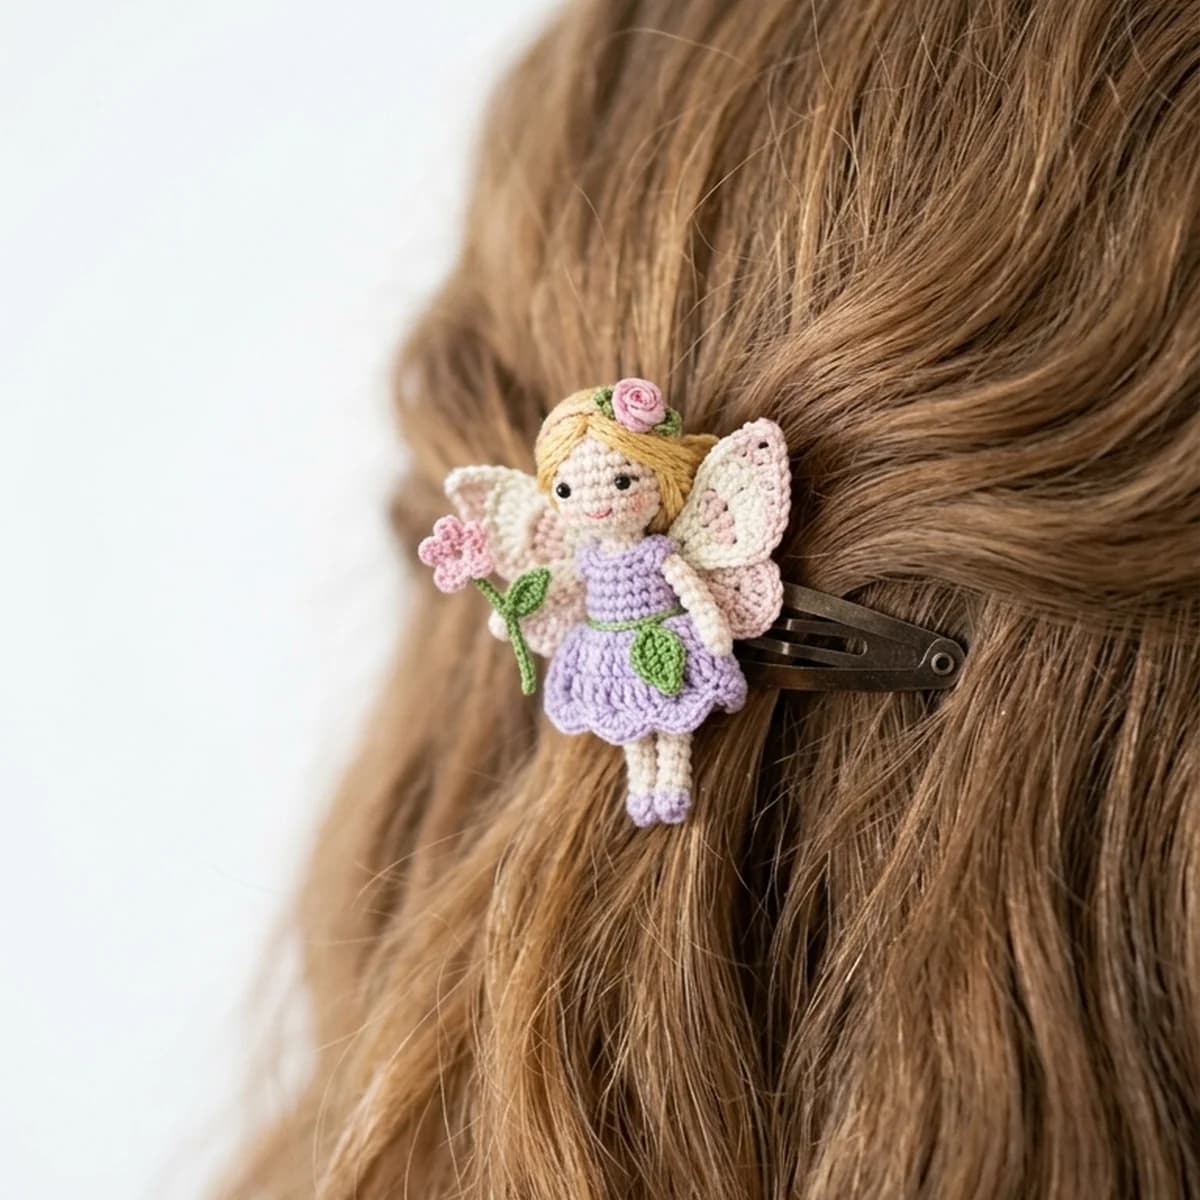
Bring a touch of magic and whimsy into your everyday style with this charming project! This gorgeous fairy crochet clip features a delicate flower and a leaf motif, representing a sleeping flower fairy. It is a highly creative, quick, and satisfying project that uses very little yarn, making it the ultimate scrap-buster. Whether you are crafting for yourself, making gifts for kids, or preparing stock for a local craft market, these handmade hair clips are guaranteed to enchant anyone who sees them.
Fairy-themed accessories have captured the hearts of crafters worldwide due to their mystical appeal and vintage aesthetic. You can make them in a wide variety of pastel shades for spring, bright neon colors for summer, or warm earth tones for autumn. In this guide, we will walk you through the entire process, from selecting the right materials to finishing your very own clip with a professional, durable look.
Note: This pattern uses US crochet terminology. UK/Commonwealth terms: sc = dc, hdc = htr, dc = tr, tr = dtr.
Materials and Tools Required
Before we begin, gather the following materials. Since this project is small, you can easily use leftover yarn from your stash.
- Yarn: Sport weight (Category 2) or Fingering weight (Category 1) cotton yarn. Cotton is highly recommended because it holds its shape well and does not pill. You will need a main color for the fairy flower petals (e.g., pink or lavender), green for the fairy wings and leaf, and a matching skin tone or cream color for the fairy face/center.
- Crochet Hook: 2.0 mm or 2.25 mm hook. A smaller hook size keeps the stitches tight and prevents the metal clip or stuffing from showing through.
- Hair Clip Base: 5 cm (approx. 2 inches) metal snap clip or alligator clip.
- Adhesive: A hot glue gun or strong fabric glue (such as E6000) to secure the crochet cover to the metal clip.
- Tapestry Needle: For weaving in ends and assembling.
- Scissors: For cutting yarn.
- Optional embellishments: Small pearls, beads, or gold thread to embroider fairy dust.
Abbreviations & Stitches Used
- MR: Magic Ring
- ch: Chain
- sl st: Slip stitch
- sc: Single crochet
- hdc: Half double crochet
- dc: Double crochet
- tr: Treble crochet
- st(s): Stitch(es)
Step-by-Step Pattern
Part 1: The Clip Base Cover
First, we will make the base cover that wraps around the metal clip. This provides a neat backing and a surface for gluing our flower fairy.
Step 1: Chain 12. Slip stitch in the second chain from hook and in each of the next 9 chains. In the last chain, make 3 sc (this forms the rounded end).
Step 2: Work down the opposite side of the chain: make 1 sc in each of the next 9 stitches. In the starting stitch, make 2 sc. Join with a sl st to the first stitch. (24 stitches total)
Step 3: Chain 1. Make 2 sc in the first stitch. Sc in the next 9 stitches. Make 2 sc in each of the next 3 stitches. Sc in the next 9 stitches. Make 2 sc in the last 2 stitches. Join with a sl st to the first stitch. Fasten off and leave a tail for sewing, or weave in the ends if you prefer using glue.
Part 2: The Fairy Face and Flower Crown
Now, let’s crochet the fairy face and the flower petals that surround it.
Round 1 (Face): With cream or skin-tone yarn, make a Magic Ring. Chain 1, and make 10 sc into the magic ring. Pull the ring tight and join with a sl st to the first sc. (10 sts)
Round 2 (Petals / Crown): Change to pink or lavender yarn. *[Chain 2, make 2 dc in the same stitch, chain 2, sl st into the next stitch]*. Repeat from * to * 3 times to make the flower crown petals on the upper half of the face. For the remaining 4 stitches, make sc in each stitch to represent the chin and lower face of the fairy. Fasten off and weave in all ends.
Step 3: With a small strand of black embroidery floss, embroider two tiny sleeping eyes (curved lines) on the cream-colored center.
Part 3: The Fairy Wings and Leaf
To give the clip its magical fairy look, we will add green wings that also function as leaves.
Step 1: Chain 10. Slip stitch in the second chain from hook. Sc in the next chain, hdc in the next, dc in the next 3 chains, hdc in the next, and make 3 sc in the last chain.
Step 2: Work back down the other side of the foundation chain: make 1 hdc, 3 dc, 1 hdc, 1 sc, and 1 sl st in the last stitch. Chain 1, and make a sl st to the very first stitch at the tip. Do not fasten off. Chain 6 (to create a smaller second wing), sl st in the second chain, sc in next 2 chains, hdc in next, sl st in the base. Fasten off and leave a tail for assembly.
Assembly and Finishing
Once all the pieces are crocheted, it is time to assemble them onto the metal clip.
- Preheat your hot glue gun. Apply a thin line of glue along the top surface of the metal clip.
- Carefully press the crocheted base cover onto the glue, ensuring it is centered. Press firmly for a few seconds. If you are using a snap clip, make sure the clip can still open and close easily.
- Glue or sew the green wings to the middle of the clip cover, pointing slightly outward.
- Apply a small drop of glue to the back of the fairy head and press it firmly on top of the wings, concealing the attachment point.
- Optional: Add a tiny drop of pink blush to the fairy’s cheeks using a cotton swab and a pink colored pencil or real cosmetic blush.
Care and Customization Tips
To clean your hair clips, gently hand wash them in cool water with mild soap. Lay them flat to dry on a clean towel. Avoid soaking the metal clip to prevent rusting.
To customize, try mixing different yarn weights or styles. Soft pastel cotton yarns give a gentle bohemian vibe, while glittery acrylic yarns add a touch of sparkle. These clips make excellent matching sets for mother-daughter outfits or cute birthday party favors.